Help Center

Step-by-step guides for every feature

Everything you need to get your team running submittals, RFIs, and documents in Flowmittal — with illustrated walkthroughs for each step.

1. Set up your company

Your company is the top-level workspace that holds every project, member, and setting in Flowmittal.

Sign-up screen showing company creation form
  1. 1

    Create your account

    Go to the Sign Up page, enter your full name, work email, and a password. We'll send a verification link — click it to activate your account.

  2. 2

    Name your company

    After verifying, you'll be prompted to create your company workspace. Enter the legal or trade name your team will recognize.

  3. 3

    Open Company Settings

    From the dashboard sidebar, click Company Settings to upload your logo, set your timezone, and configure default project roles.


2. Create a project

Each construction job lives inside a project. Projects are billed once at $39 and come with unlimited users.

Project creation card with blueprint preview
  1. 1

    Click New Project

    From the dashboard, click the New Project button in the top right. A modal will open asking for the project basics.

  2. 2

    Fill in project details

    Enter the project name, job address, project number, and target close-out date. These appear on every submittal and RFI.

  3. 3

    Activate the project

    Confirm the one-time $39 activation. Once activated, the project unlocks all features and unlimited team seats.

3. Invite your team

Invite teammates at the company level for cross-project access, or at the project level for job-specific collaborators like architects and subs.

Team members with role badges
  1. 1

    Company invites

    In Company Settings → Members, click Invite. Add their email and choose a company role (Owner, Admin, Member). They'll get access to every project in the company.

  2. 2

    Project invites

    Open a project, go to Team, and click Invite. Use this for architects, engineers, subs, and owners who should only see this one job.

  3. 3

    Assign roles

    Pick from built-in roles — General Contractor, Architect, Engineer, Subcontractor, Owner — or use a custom role you defined in Company Settings.

  4. 4

    Send and track

    Invitees receive an email from notify.flowmittal.com with a one-click join link. Pending invites show up in the Team tab until accepted.

4. Manage submittals

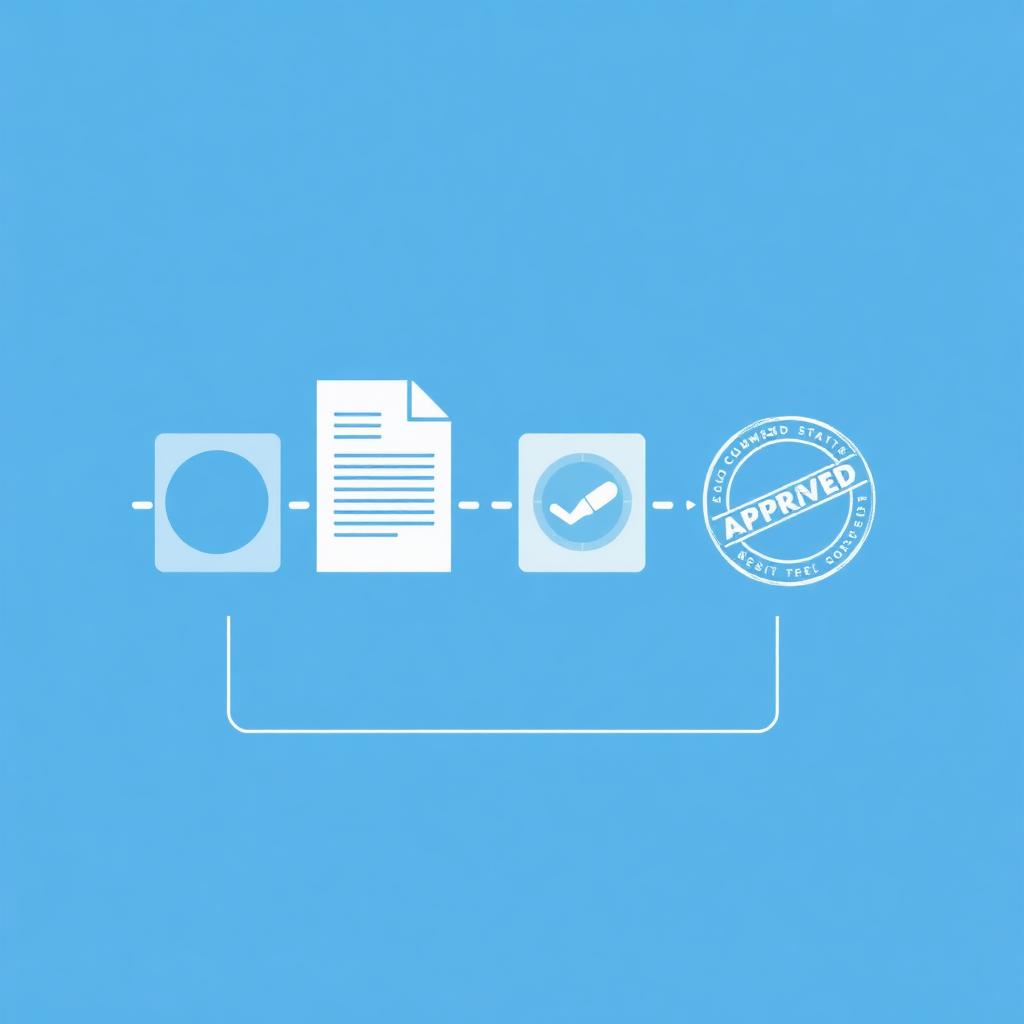
Log, route, and stamp submittals end-to-end without leaving Flowmittal. Every transmittal, response, and revision lives on one timeline.

Submittal workflow with approved stamp
  1. 1

    Open the Submittals tab

    Inside a project, click Submittals in the left nav. You'll see the full register with filters for status, ball-in-court, and spec section.

  2. 2

    Create a submittal

    Click New Submittal. Enter the spec section, title, type (product data, shop drawing, sample, etc.), and attach files. Pick the subcontractor.

  3. 3

    Route for review

    Assign the architect or engineer reviewer and set a due date. Flowmittal emails them automatically and tracks ball-in-court.

  4. 4

    Capture the response

    Reviewers stamp Approved, Approved as Noted, Revise & Resubmit, or Rejected directly in the app — or upload a stamped PDF. The status updates instantly.

  5. 5

    Close out or revise

    Approved items move to closed. Revise & Resubmit creates a Rev 2 with the prior history attached. Export the full register anytime as CSV or PDF.

5. Manage RFIs

Ask, answer, and document RFIs with a clear chain of responsibility. No more lost email threads.

RFI question card with response preview
  1. 1

    Open the RFIs tab

    Inside a project, click RFIs. The list shows open, answered, and closed items with ball-in-court and days outstanding.

  2. 2

    Submit a new RFI

    Click New RFI. Enter the question, attach drawings or photos, reference a spec or drawing sheet, and pick a required-by date.

  3. 3

    Route to the right party

    Assign the architect, engineer, or owner. They get notified by email and can respond from the link without creating an account if you choose guest-reply.

  4. 4

    Lock in the answer

    Once answered, the originator confirms and closes the RFI. The full Q&A is preserved on the project record for audit and closeout.

6. Project documents

Keep specs, drawings, contracts, and reference docs in one organized library tied to the project.

Documents folder with PDFs and drawings
  1. 1

    Open Documents

    From the project nav, click Documents. You'll see folders for Specs, Drawings, Contracts, and any custom folders you create.

  2. 2

    Upload files

    Drag files into the folder or click Upload. Flowmittal handles PDFs, drawings, CAD exports, photos, and Office docs.

  3. 3

    Version drawings

    Re-upload a file with the same name to bump the version. Older revisions stay accessible under the file's history.

  4. 4

    Reference from submittals & RFIs

    When creating a submittal or RFI, link directly to a doc in the library so reviewers always pull the latest version.

7. Managed submittal register

Upload your project specs and our team will build a complete submittal register for you — saving days of manual entry.

Spec PDF being converted into a submittal register
  1. 1

    Upload the spec book

    Inside Submittals, click Generate from Specs. Upload the full project spec PDF (typically Divisions 01–33).

  2. 2

    Our team builds the register

    The Flowmittal team reads each section, identifies required submittals (product data, shop drawings, samples, mock-ups, O&Ms), and proposes a draft register.

  3. 3

    Review and edit

    Scan the proposed register. Edit titles, change types, merge duplicates, or remove items. You stay in control of every row.

  4. 4

    Publish to the project

    Click Add to Register and the items appear in your Submittals tab, ready to assign to subcontractors and route for review.

8. Custom workflows & roles

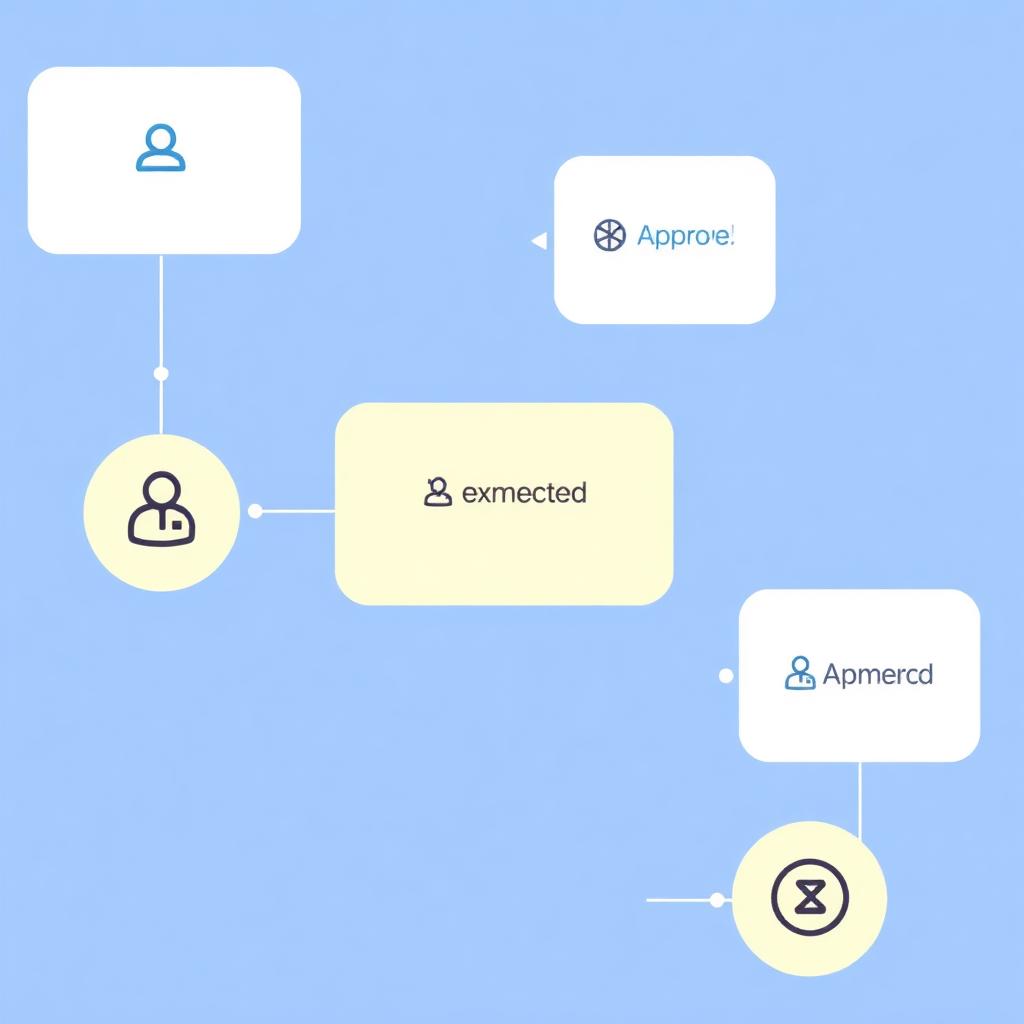
Match Flowmittal to how your company actually runs reviews. Define roles, approval chains, and notification rules.

Custom workflow builder with connected steps
  1. 1

    Open Company Settings → Roles

    Create custom roles like Project Engineer, Field Super, or Owner's Rep. Set what they can see and do across submittals, RFIs, and docs.

  2. 2

    Build a workflow

    Under Workflows, define the steps a submittal or RFI goes through — internal review, transmit, external review, return, close — and which role acts at each step.

  3. 3

    Set notification rules

    Choose who gets emailed at each step, set escalation timers for overdue items, and pick daily-digest or real-time delivery per user.

  4. 4

    Apply to a project

    When creating a project, pick the workflow that fits the job. You can override per-project anytime in Project Settings.

Still have questions?

Reach out to our team at support@flowmittal.com and we'll get you unblocked.